Build a Flow Collectibles Portal Using Cadence (Part 2)
With a collectibles portal on the Flow blockchain and deployed to the testnet we can now focus on creating the frontend using React.

Information Technology professional with 30+ years expertise in application design and architecture, feature development, project management, system administration and team supervision. Currently focusing on enterprise architecture/application design utilizing object-oriented programming languages and frameworks.
Welcome to the final step in creating your Collectibles portal! Part one of this short series focused on building the collections portal. In this part, we'll focus on building the frontend—the last piece of the puzzle. Here's what we'll achieve:
Connect with Flow Wallet: You'll be able to link your Flow Wallet.
Create NFTs (Mint): You can make your very own NFTs by confirming the transaction.
View NFTs: You'll be able to see your NFTs by asking the blockchain.
We will work with React.js and an existing smart contract on Flow's testnet. This smart contract is the same Collectibles contract we crafted in part 1.
Here are the steps we will follow to get there:
Installation: Setting things up and getting ready to go.
Configuration: Getting everything in order for a smooth operation.
Authentication: Making sure you're securely connected.
Querying the Flow Blockchain: Asking the blockchain for information.
Setting up the Account: Preparing your account for action.
Mutating the Flow Blockchain: Modifying the blockchain as needed.
Final Step: Keeping track of your code.
Are you ready to dive into creating your Collectibles Portal's frontend?
Let's get started!
1. Installation
First, we need to create a React app using a tool called Yarn. To do this, open your terminal and type:
yarn create react-app web
After pressing Enter, your computer will begin creating a new React app inside your project. When it's done, you can open your new app.
This is what your React app looks like.
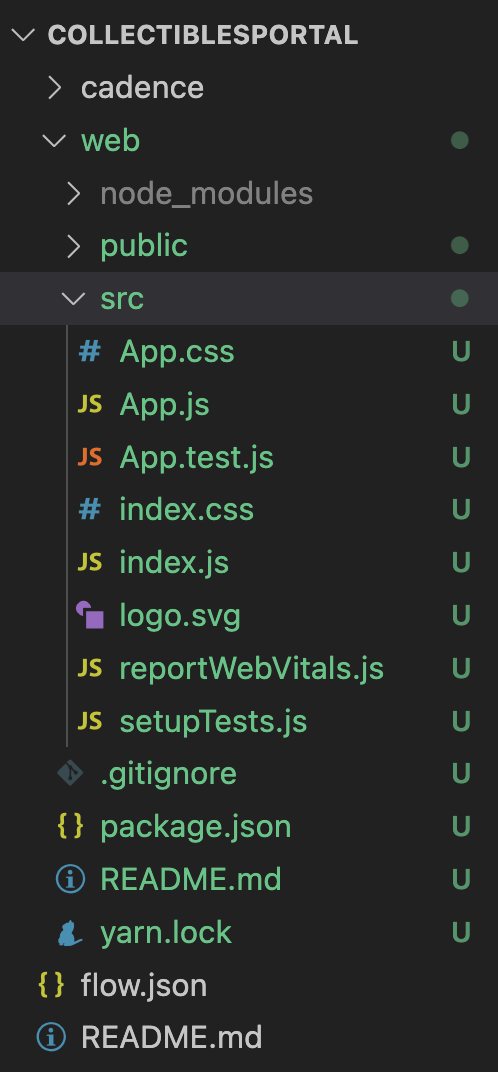
2. Configuration
We'll use the Flow Client Library (FCL) to manage wallet connections, run scripts, and send transactions in our application.
To get started, let's install FCL for our app by running the following command:
npm install @onflow/fcl --save
After installing FCL, we need to configure it. Here's what you need to do:
Create a file named config.js in the src folder.
In this file, set up the configuration for the FCL, such as specifying the Access Node and wallet discovery endpoint. This helps you choose between using a testnet or a local emulator.
Add the following code to the config.js file:
import { config } from "@onflow/fcl";

config({
  "accessNode.api": "https://rest-testnet.onflow.org", // Mainnet: "https://rest-mainnet.onflow.org"
  "discovery.wallet": "https://fcl-discovery.onflow.org/testnet/authn" // Mainnet: "https://fcl-discovery.onflow.org/authn"
})
Now you're all set up to use the FCL in your app.
3. Authentication
To verify a user's identity in an app, you can use several functions.
For logging in use
fcl.logIn().For signing up use
fcl.signUp().For logging out call
fcl.unauthenticate().
After logging in, an object named fcl.currentUser is set up. This object allows you to watch for changes in user data, perform transaction signings, and more.
Let's add in several buttons for sign up/login and also subscribe to changes on the currentUser. When the user is updated (which will happen after authentication), we'll set the user state in our component to reflect this. To demonstrate user authenticated sessions, we'll conditionally render a component based on if the user is or is not logged in.
Your code should look like this:
import React from "react";
import './styles/App.css';
import "./config";
import * as fcl from "@onflow/fcl";

const App = () => {

  const [user, setUser] = useState({loggedIn: null})

  useEffect(() => fcl.currentUser.subscribe(setUser), [])

  const AuthedState = () => {
    return (
      <div>
        <div className="sub-text">Wallet Address: {user?.addr ?? "No Address"}</div>
        <button className="cta-button connect-wallet-button" onClick={fcl.unauthenticate}>
          Log Out
        </button>
      </div>
    )
  }

const UnauthenticatedState = () => {
    return (
        <button className="cta-button connect-wallet-button" onClick={fcl.logIn}>
          Log In
        </button>
    )
  }
  return (
    <div className="App">
      <div className="container">
        <div className="header-container">
          <p className="header gradient-text">Flow Collectibles Portal</p>
          <p className="sub-text">Upload your favorite collectibles to the Flow Blockchain</p>
          {user.loggedIn ? <AuthedState /> : <UnauthenticatedState />}
        </div>
      </div>
    </div>
  );
};

export default App;
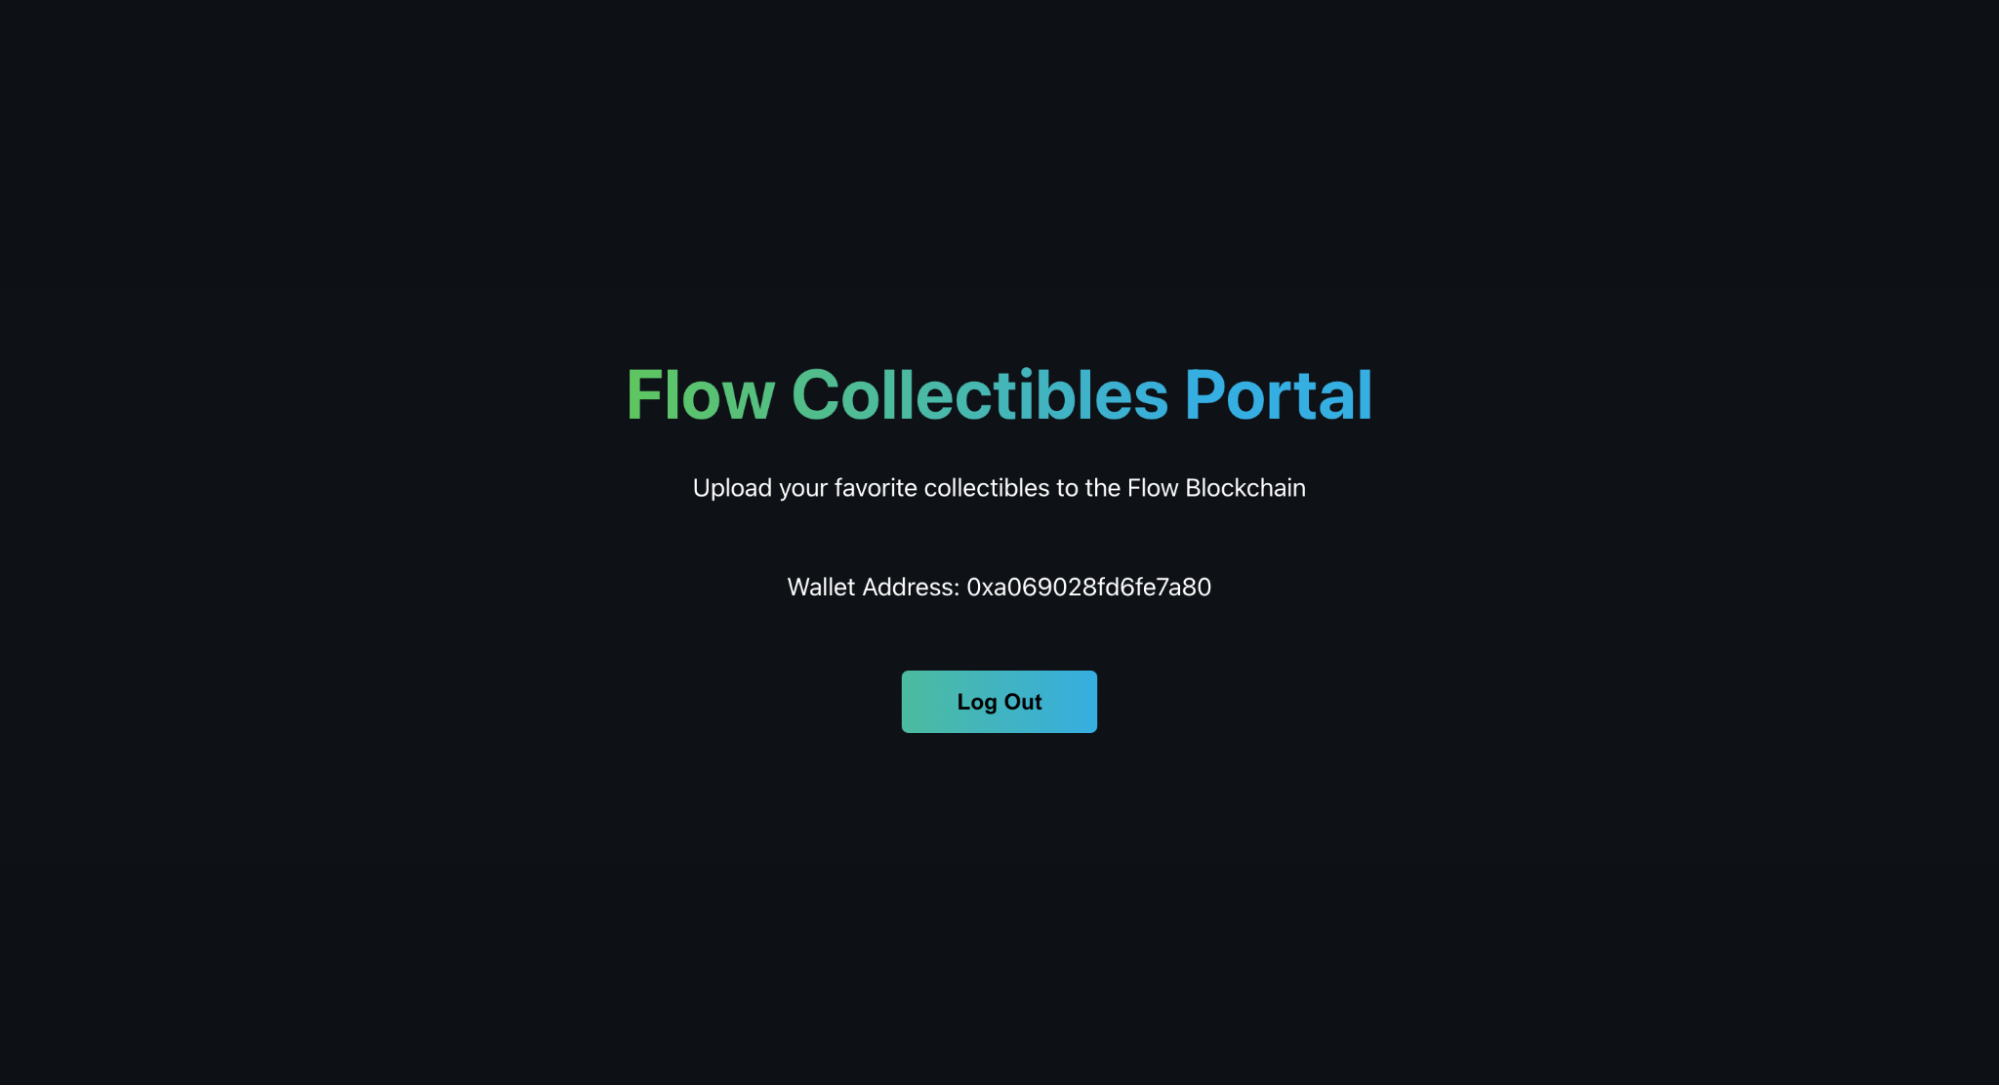
Now, you can either log in or sign up as a user and then log out. When you log in or sign up, a small window will pop up. In that window, you can pick a wallet provider. For this instance, let's pick the Blocto wallet to make an account. After you successfully prove it's you, you will see your wallet address on the screen like this:
4. Querying the Flow Blockchain
When you're building a dapp, a key task is to retrieve data from the blockchain and the smart contracts it holds. Let's understand how we can query a contract to find out about a specific NFT.
Here's a simplified breakdown of the steps involved:
Import Contracts: First, you need to import the relevant contracts used in your dapp. In this example, we're interested in querying the NFTs, so we're importing the NonFungibleToken and Collectibles contracts.
Use FCL: You create a function called queryNFT which is asynchronous. Inside this function, you use the fcl.query function to query the blockchain.
Set the result of the script to the app state in React so we can display the NFT in our browser.
Display: Display "No NFT" if nothing was found.
Take a look at the new code. We'll explain each new piece as we go.
const [user, setUser] = useState({loggedIn: null})
const [nft, setNFT] = useState() //NEW

useEffect(() => fcl.currentUser.subscribe(setUser), [])

  // NEW
  const queryNFT = async () => {
    const nft = await fcl.query({
      cadence: `
        import NonFungibleToken from 0x631e88ae7f1d7c20
        import Collectibles from 0x490b5c865c43d0fd

        pub fun main(user: Address, id: UInt64): &NonFungibleToken.NFT? {
          let collectionCap= getAccount(user).capabilities
                      .get<&{Collectibles.CollectionPublic}>(/public/NFTCollection)
                      ?? panic("This public capability does not exist.")

          let collectionRef = collectionCap.borrow()!

          return collectionRef.borrowNFT(id: id)
        }
      `,
      args: (arg, t) => [arg(user.addr, t.Address)]
    })

    setNFT(nft ?? 'No NFT')
  }

const AuthedState = () => {
    return (
      <div>
        <div className="sub-text">Wallet Address: {user?.addr ?? "No Address"}</div>
        <div className="sub-text">NFT: {nft ?? "--"}</div>
       <button className="cta-button" onClick={queryNFT}>View NFT</button>
       <button className="cta-button connect-wallet-button" onClick={fcl.unauthenticate}>
          Log Out
        </button>
      </div>
    )
  }
A few things happened. In our AuthedState component, we added a button to send a query to view the NFT and a div to display the result above it. You can see the corresponding useState initialization at the top of the component. We also built out the actual query inside of the queryNFT method.
Let's take a look at it more closely.
await fcl.query({
      cadence: `
        import NonFungibleToken from 0x631e88ae7f1d7c20
        import Collectibles from 0x490b5c865c43d0fd

        pub fun main(user: Address, id: UInt64): &NonFungibleToken.NFT? {
          let collectionCap= getAccount(user).capabilities
                      .get<&{Collectibles.CollectionPublic}>(/public/NFTCollection)
                      ?? panic("This public capability does not exist.")

          let collectionRef = collectionCap.borrow()!

          return collectionRef.borrowNFT(id: id)
        }
      `,
      args: (arg, t) => [arg(user.addr, t.Address)]
    })
Inside the query, you'll see we set two things: cadence and args. Remember that the Cadence code is specific to Flow's smart contract language, and you don't need to dive too deep into it unless you're working on writing more complex smart contracts. The key takeaway is that you're querying the blockchain to get NFT information based on the user's account address and the NFT ID. When you click the "View NFT" button, you'll see the NFT details, or if the NFT doesn't exist, it will display "No NFT".
5. Setting up the Account
We use a process called "collection initialization” to set up a Collection resource in the user’s account. (We covered what a resource is in Part 1. You can review that here.)
To make this happen, we’ll add a new function called "initAccount”. We'll use a code that asks, "Hey, does this account already have a Collection? If not, let's create one." We use something called a "transaction" to do this. Think of a transaction like a special task we want the system to do for us. Now, let's talk about how we write this code.
Instead of saying "query," we use the word "mutate" for transactions. Since doing this task has a cost, we need to provide some information to Flow. We tell Flow who is suggesting the task, who is approving it, who is paying for it, and how much they're willing to pay. These parts are called "proposer," "authorizer," "payer," and "limit."
Let's take a look at what the function to set up an account looks like.
const initAccount = async () => {
  const transactionId = await fcl.mutate({
    cadence: `
    import Collectibles from 0x490b5c865c43d0fd

    transaction {
    prepare(signer: AuthAccount) {
        if signer.borrow<&Collectibles.Collection>(from: Collectibles.CollectionStoragePath) == nil {
            let collection <- Collectibles.createEmptyCollection()
            signer.save(<-collection, to: Collectibles.CollectionStoragePath)
            let cap = signer.capabilities.storage.issue<&{Collectibles.CollectionPublic}>(Collectibles.CollectionStoragePath)
            signer.capabilities.publish( cap, at: Collectibles.CollectionPublicPath)
        }
    }
    `,
    payer: fcl.authz,
    proposer: fcl.authz,
    authorizations: [fcl.authz],
    limit: 50
  })

  const transaction = await fcl.tx(transactionId).onceSealed()
  console.log(transaction)
}
You can see the new fields we talked about. You'll also notice fcl.authz, which is shorthand for "use the current user to authorize this transaction". You could also write it as fcl.currentUser.authorization.
For this example, we'll keep it simple with the user being each of these roles. You'll also notice we are awaiting a response with our transaction data by using the syntax fcl.tx(transactionId).onceSealed(). This will return when the blockchain has sealed the transaction, and it's complete in processing and verifying it.
Now your App.js file should look like this (we also added a button for calling the initAccount function in the AuthedState):
const App = () => {

  const [user, setUser] = useState({loggedIn: null})
  const [nft, setNFT] = useState() //NEW
  const [txnStatus, setTxnStatus] = useState(null)

  useEffect(() => fcl.currentUser.subscribe(setUser), [])

  // NEW
  const queryNFT = async () => {
    const nft = await fcl.query({
      cadence: `
        import NonFungibleToken from 0x631e88ae7f1d7c20
        import Collectibles from 0x490b5c865c43d0fd

        pub fun main(user: Address, id: UInt64): &NonFungibleToken.NFT? {
          let collectionCap= getAccount(user).capabilities
                      .get<&{Collectibles.CollectionPublic}>(/public/NFTCollection)
                      ?? panic("This public capability does not exist.")

          let collectionRef = collectionCap.borrow()!

          return collectionRef.borrowNFT(id: id)
        }
      `,
      args: (arg, t) => [arg(user.addr, t.Address)]
    })

    setNFT(nft ?? 'No NFT')
  }

  // NEW
  const initAccount = async () => {
  const transactionId = await fcl.mutate({
    cadence: `
    import Collectibles from 0x490b5c865c43d0fd

    transaction {
    prepare(signer: AuthAccount) {
        if signer.borrow<&Collectibles.Collection>(from: Collectibles.CollectionStoragePath) == nil {
            let collection <- Collectibles.createEmptyCollection()
            signer.save(<-collection, to: Collectibles.CollectionStoragePath)
            let cap = signer.capabilities.storage.issue<&{Collectibles.CollectionPublic}>(Collectibles.CollectionStoragePath)
            signer.capabilities.publish( cap, at: Collectibles.CollectionPublicPath)
        }
    }
    `,
    payer: fcl.authz,
    proposer: fcl.authz,
    authorizations: [fcl.authz],
    limit: 50
  })

  const transaction = await fcl.tx(transactionId).onceSealed()
  console.log(transaction)
}

  const mintNFT = async () => {
  const transactionId = await fcl.mutate({
    cadence: `
      import Profile from 0xProfile

      transaction(name:String, image:String){
        let receiverCollectionRef: &{NonFungibleToken.CollectionPublic}
        prepare(signer:AuthAccount){
          self.receiverCollectionRef = signer.borrow<&Collectibles.Collection>(from: Collectibles.CollectionStoragePath)
              ?? panic("could not borrow Collection reference")
        }
        execute{
          let nft <- Collectibles.mintNFT(name:name, image:image)
          self.receiverCollectionRef.deposit(token: <-nft)
        }
      }
    `,
    args: (arg, t) => [arg("Pikachu", t.String),arg("https://cdn.pixabay.com/photo/2020/08/29/16/08/pikachu-5527377_640.jpg",t.String)],
    payer: fcl.authz,
    proposer: fcl.authz,
    authorizations: [fcl.authz],
    limit: 50
  })

  fcl.tx(transactionId).subscribe(res => setTxnStatus(res.status))
}


    const AuthedState = () => {
    return (
      <div>
        <div className="sub-text">Wallet Address: {user?.addr ?? "No Address"}</div>
        <div className="sub-text">NFT: {nft ?? "--"}</div>
        <div className="sub-text">Transaction Status: {txnStatus ?? "--"}</div>
        <button className="cta-button" onClick={queryNFT}>View NFT</button>
        {/*NEW*/}
        <button className="cta-button" onClick={initAccount}>Create Collection</button>
        <button className="cta-button" onClick={mintNFT}>Mint</button>
        <button className="cta-button connect-wallet-button" onClick={fcl.unauthenticate}>
          Log Out
        </button>
      </div>
    )
  }


  const UnauthenticatedState = () => {
    return (
        <button className="cta-button connect-wallet-button" onClick={fcl.logIn}>
          Log In
        </button>
    )
  }

  return (
    <div className="App">
      <div className="container">
        <div className="header-container">
          <p className="header gradient-text">Flow Collectibles Portal</p>
          <p className="sub-text">Upload your favorite collectibles to the Flow Blockchain</p>
          {user.loggedIn ? <AuthedState /> : <UnauthenticatedState />}
        </div>
      </div>
    </div>
  );
};

export default App;
Click the "Init Account" button. This will prompt your wallet to ask for permission to complete a transaction. Once you give permission, you'll notice a message about the transaction in the console. (Make sure the console is open.) This might take a short while. Once the message shows the result of the transaction, you can use the transactionId to find out more details about the transaction using a block explorer.
6. Mutating the Flow Blockchain
After initializing the account and setting up the collection resource into it, now we mint the NFT and store it in the collection. To do this, we will write another transaction that allows us to mint the NFT. Everything else looks the same in the following code except for one thing: We'll subscribe to the status changes instead of waiting for them to be sealed after the mutate function returns. It looks like this:
const executeTransaction = async () => {
const transactionId = await fcl.mutate({
    cadence: `
      import NonFungibleToken from 0x631e88ae7f1d7c20
      import Collectibles from 0x490b5c865c43d0fd

      transaction(name:String, image:String){
        let receiverCollectionRef: &{NonFungibleToken.CollectionPublic}
        prepare(signer:AuthAccount){
          self.receiverCollectionRef = signer.borrow<&Collectibles.Collection>(from: Collectibles.CollectionStoragePath)
              ?? panic("could not borrow Collection reference")
        }
        execute{
          let nft <- Collectibles.mintNFT(name:name, image:image)
          self.receiverCollectionRef.deposit(token: <-nft)
        }
      }
    `,
    args: (arg, t) => [arg("Pikachu", t.String),arg("https://cdn.pixabay.com/photo/2020/08/29/16/08/pikachu-5527377_640.jpg",t.String)],
    payer: fcl.authz,
    proposer: fcl.authz,
    authorizations: [fcl.authz],
    limit: 50
  })

  fcl.tx(transactionId).subscribe(res => setTransactionStatus(res.status))
}
Here you can see our two arguments which are "Pikachu” and image URL “https://cdn.pixabay.com/photo/2020/08/29/16/08/pikachu-5527377_640.jpg”. At the bottom, we've called the subscribe method instead of onceSealed. Let's see how that works inside our whole app.js file.
Let’s also set the status to our React component's state so we can see what state we're in on screen.
Conclusion
Well done! You've finished part 2 of the Collectibles portal project. In summary, we focused on building the frontend of our Collectibles portal. We did this by:
Creating an app with React.js
Connecting with Flow Wallet
Creating our very own NFTs for minting
Viewing NFTs by asking the blockchain
Now you have a better understanding. Keep up the fantastic effort!
Have a really great day!


